Private cloud for Remarkable 2
Posted on Sun 27 October 2024 in hack • 2 min read
The Remarkable notebook is a great device, but for full functionality, it (unfortunately) requires registration with the company's cloud service and a monthly subscription.
What does the subscription provide?
- File synchronization
- Integrations with external file sources (using WebDAV or a dedicated directory in the local file system, instead of Google Drive and Dropbox)
- Sending documents via email
- Handwriting recognition!!!
- Screen sharing feature (though it doesn’t work remotely, and the app must be used over USB)
Fortunately, thanks to independent developers, the corporate cloud can be replaced with one hosted on your own server.
The process is simple when using Docker, and the full project documentation is available here: rmfakecloud.
Cloud Installation
On the server, create a docker-compose.yml file with the following content:
services:
  rmfakecloud:
    image: ddvk/rmfakecloud
    container_name: rmfakecloud
    restart: unless-stopped
    env_file:
      - env
    volumes:
      - ./data:/data
    ports:
      - "3033:80"
Create an env file as well:
PORT=80
JWT_SECRET_KEY=<your generated token>
STORAGE_URL=http://rmfakecloud.example.com:3033
LOGLEVEL=debug
RM_LOGFILE=/data/log
RMAPI_HWR_APPLICATIONKEY=<API key from myscript.com>
RMAPI_HWR_HMAC=<HMAC from myscript.com>
RM_SMTP_SERVER=mail.example.com:587
RM_SMTP_USERNAME=user@example.com
RM_SMTP_PASSWORD=<password>
# RM_SMTP_FROM = custom “From:” header for emails (e.g., My remarkable remarkable@rmfakecloud.example.com).
#                If enabled, the user’s email address is placed in the “Reply-To:” field.
# RM_SMTP_HELO   Custom HELO if required by your mail provider
# RM_SMTP_NOTLS  Disable TLS
# RM_SMTP_STARTTLS   Use the STARTTLS command, usually on port 587.
# RM_SMTP_INSECURE_TLS If set, skip server certificate validation (not recommended).
The token for JWT_SECRET_KEY can be generated with this command:
openssl rand -base64 48
The STORAGE_URL variable contains the server name and port under which rmfakecloud will be accessible—essentially, your server's FQDN, e.g.: http://rmfakecloud.example.com:3033.
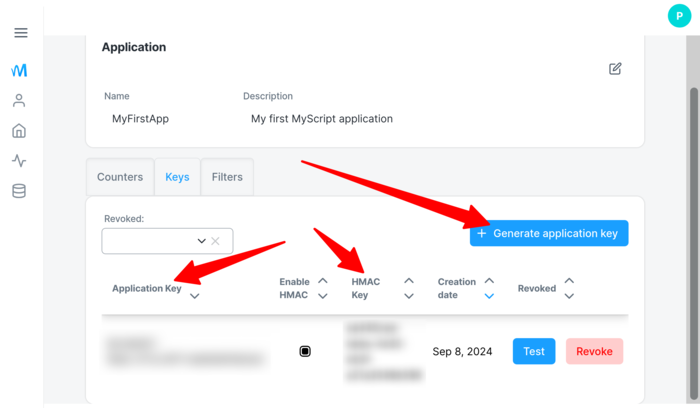
The RMAPI_HWR_APPLICATIONKEY and RMAPI_HWR_HMAC variables store, respectively, the API key and HMAC generated from French company MyScript [https://developer.myscript.com/] for enabling handwriting recognition!!!
You will need to create an account at myscript.com, but this gives you 2000 free conversions per month.
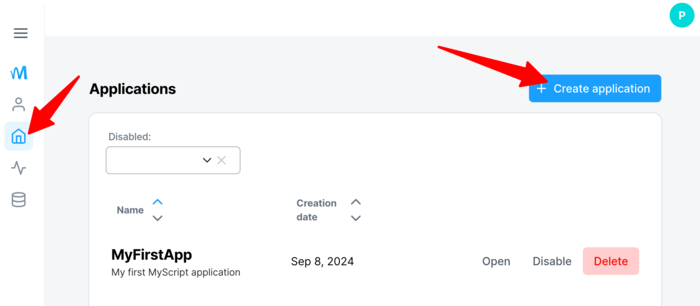
After creating an account, you create an app, which will generate the aforementioned RMAPI_HWR_APPLICATIONKEY and RMAPI_HWR_HMAC variables. Below are two screenshots from myscript.com:


The remaining variables pertain to the email server and are sufficiently described.
Once everything is set up, start rmfakecloud:
docker compose up -d
Now you need to install the sync client on your Remarkable. If you have the toltec software installed, it’s simple.
Log in to the Rm2 via SSH and enter the following commands:
opkg install rmfakecloud-proxy
rmfakecloudctl set-upstream <URL>
rmfakecloudctl enable
Replace URL with the full address of your rmfakecloud, in this example:
rmfakecloudctl set-upstream http://rmfakecloud.example.com:3033
Next, install the proxy:
sh -c "$(wget https://raw.githubusercontent.com/ddvk/rmfakecloud/master/scripts/device/automagic.sh -O-)"
Again, provide the full URL to your rmfakecloud.
OK, you can log out of Rm2.
On your computer, open a browser and go to the rmfakecloud instance page, for example: http://rmfakecloud.example.com:3033.
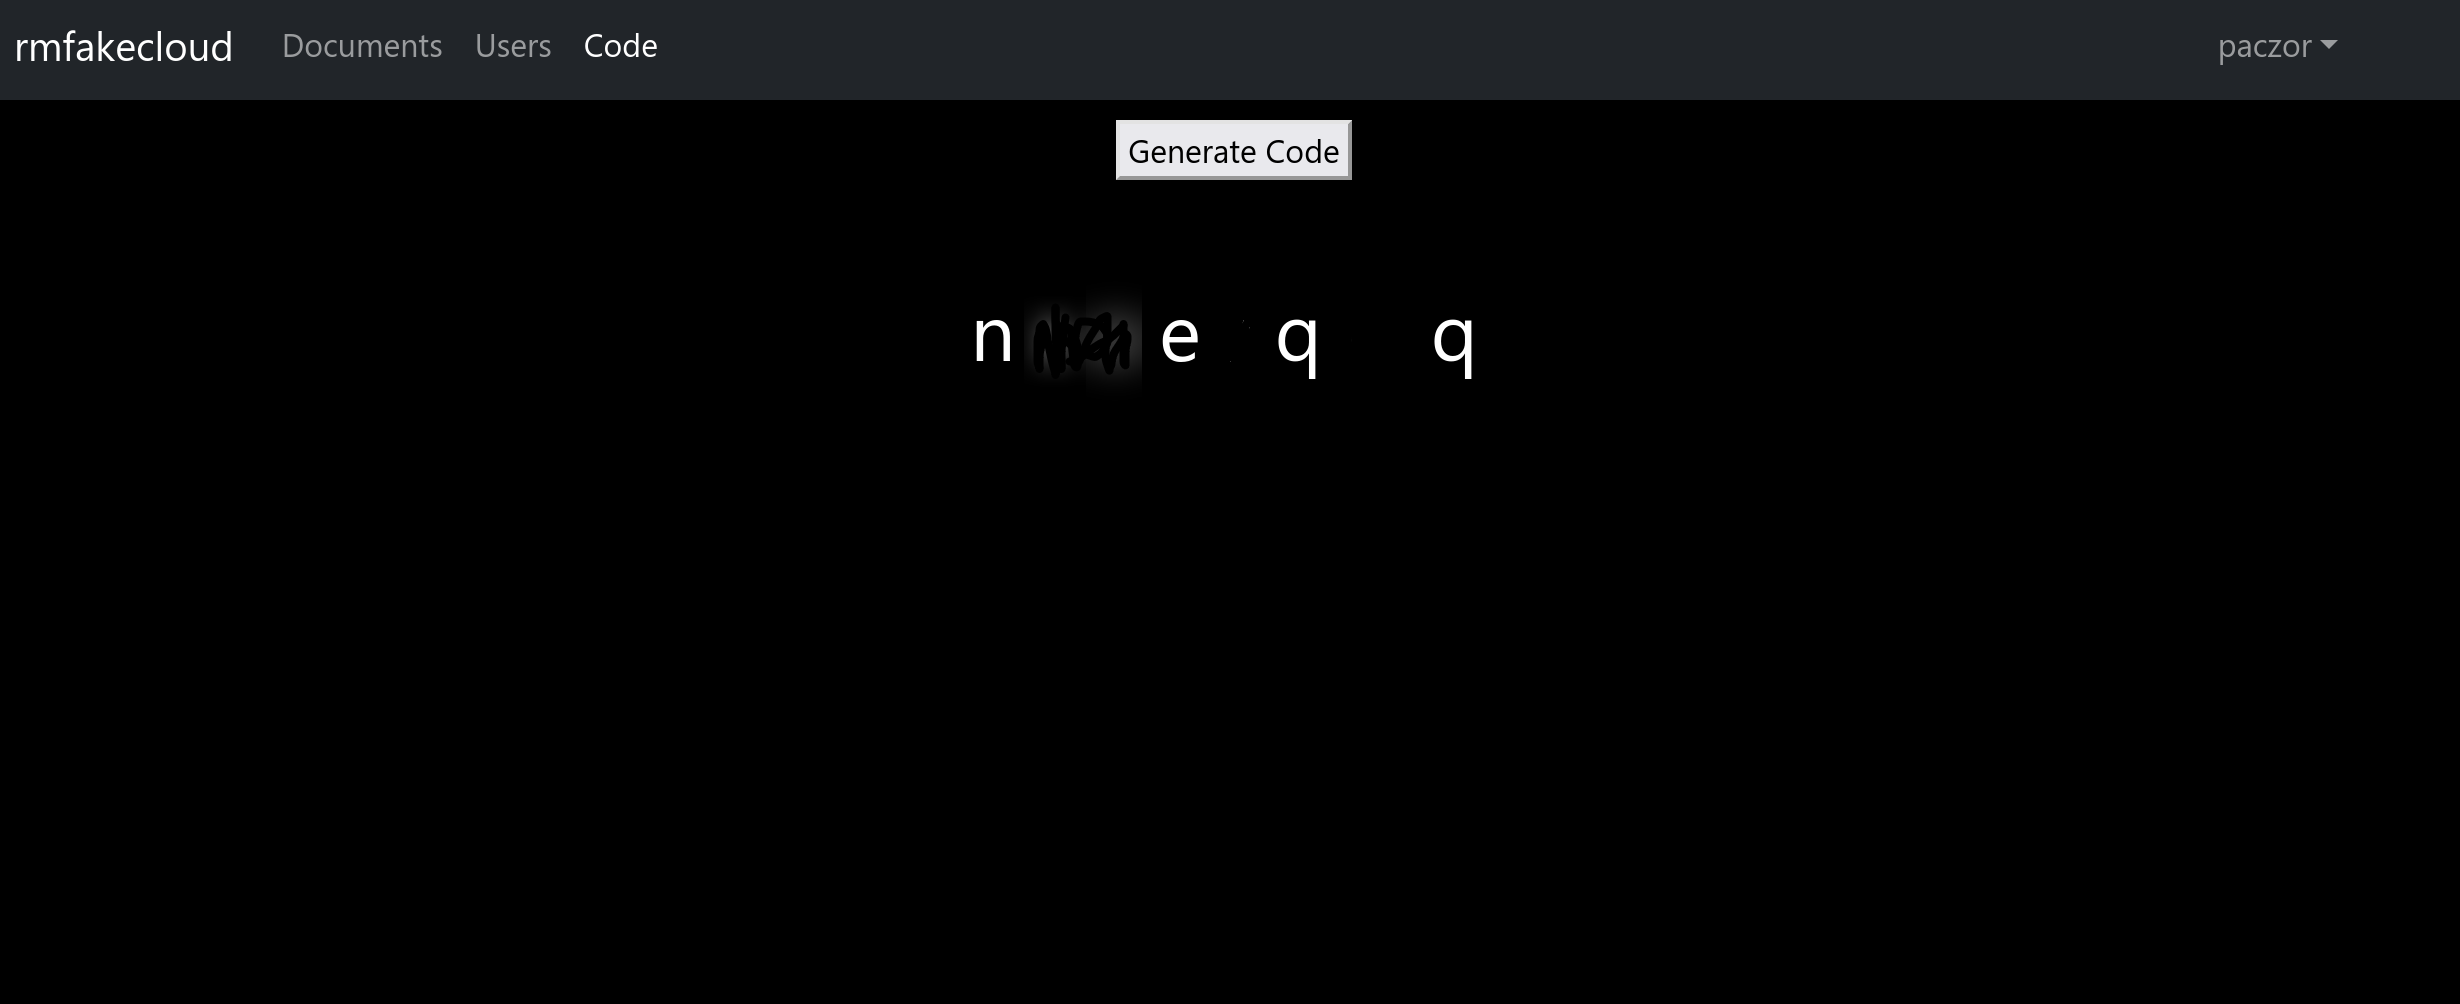
Create a user account, remember the password, and in the top menu, choose "Code" to generate a code.

On the Remarkable, go to "Menu" -> "Settings" -> "General" and in "Pair ReMarkable Account," enter the generated code and connect to your own cloud. Synchronization should now work.
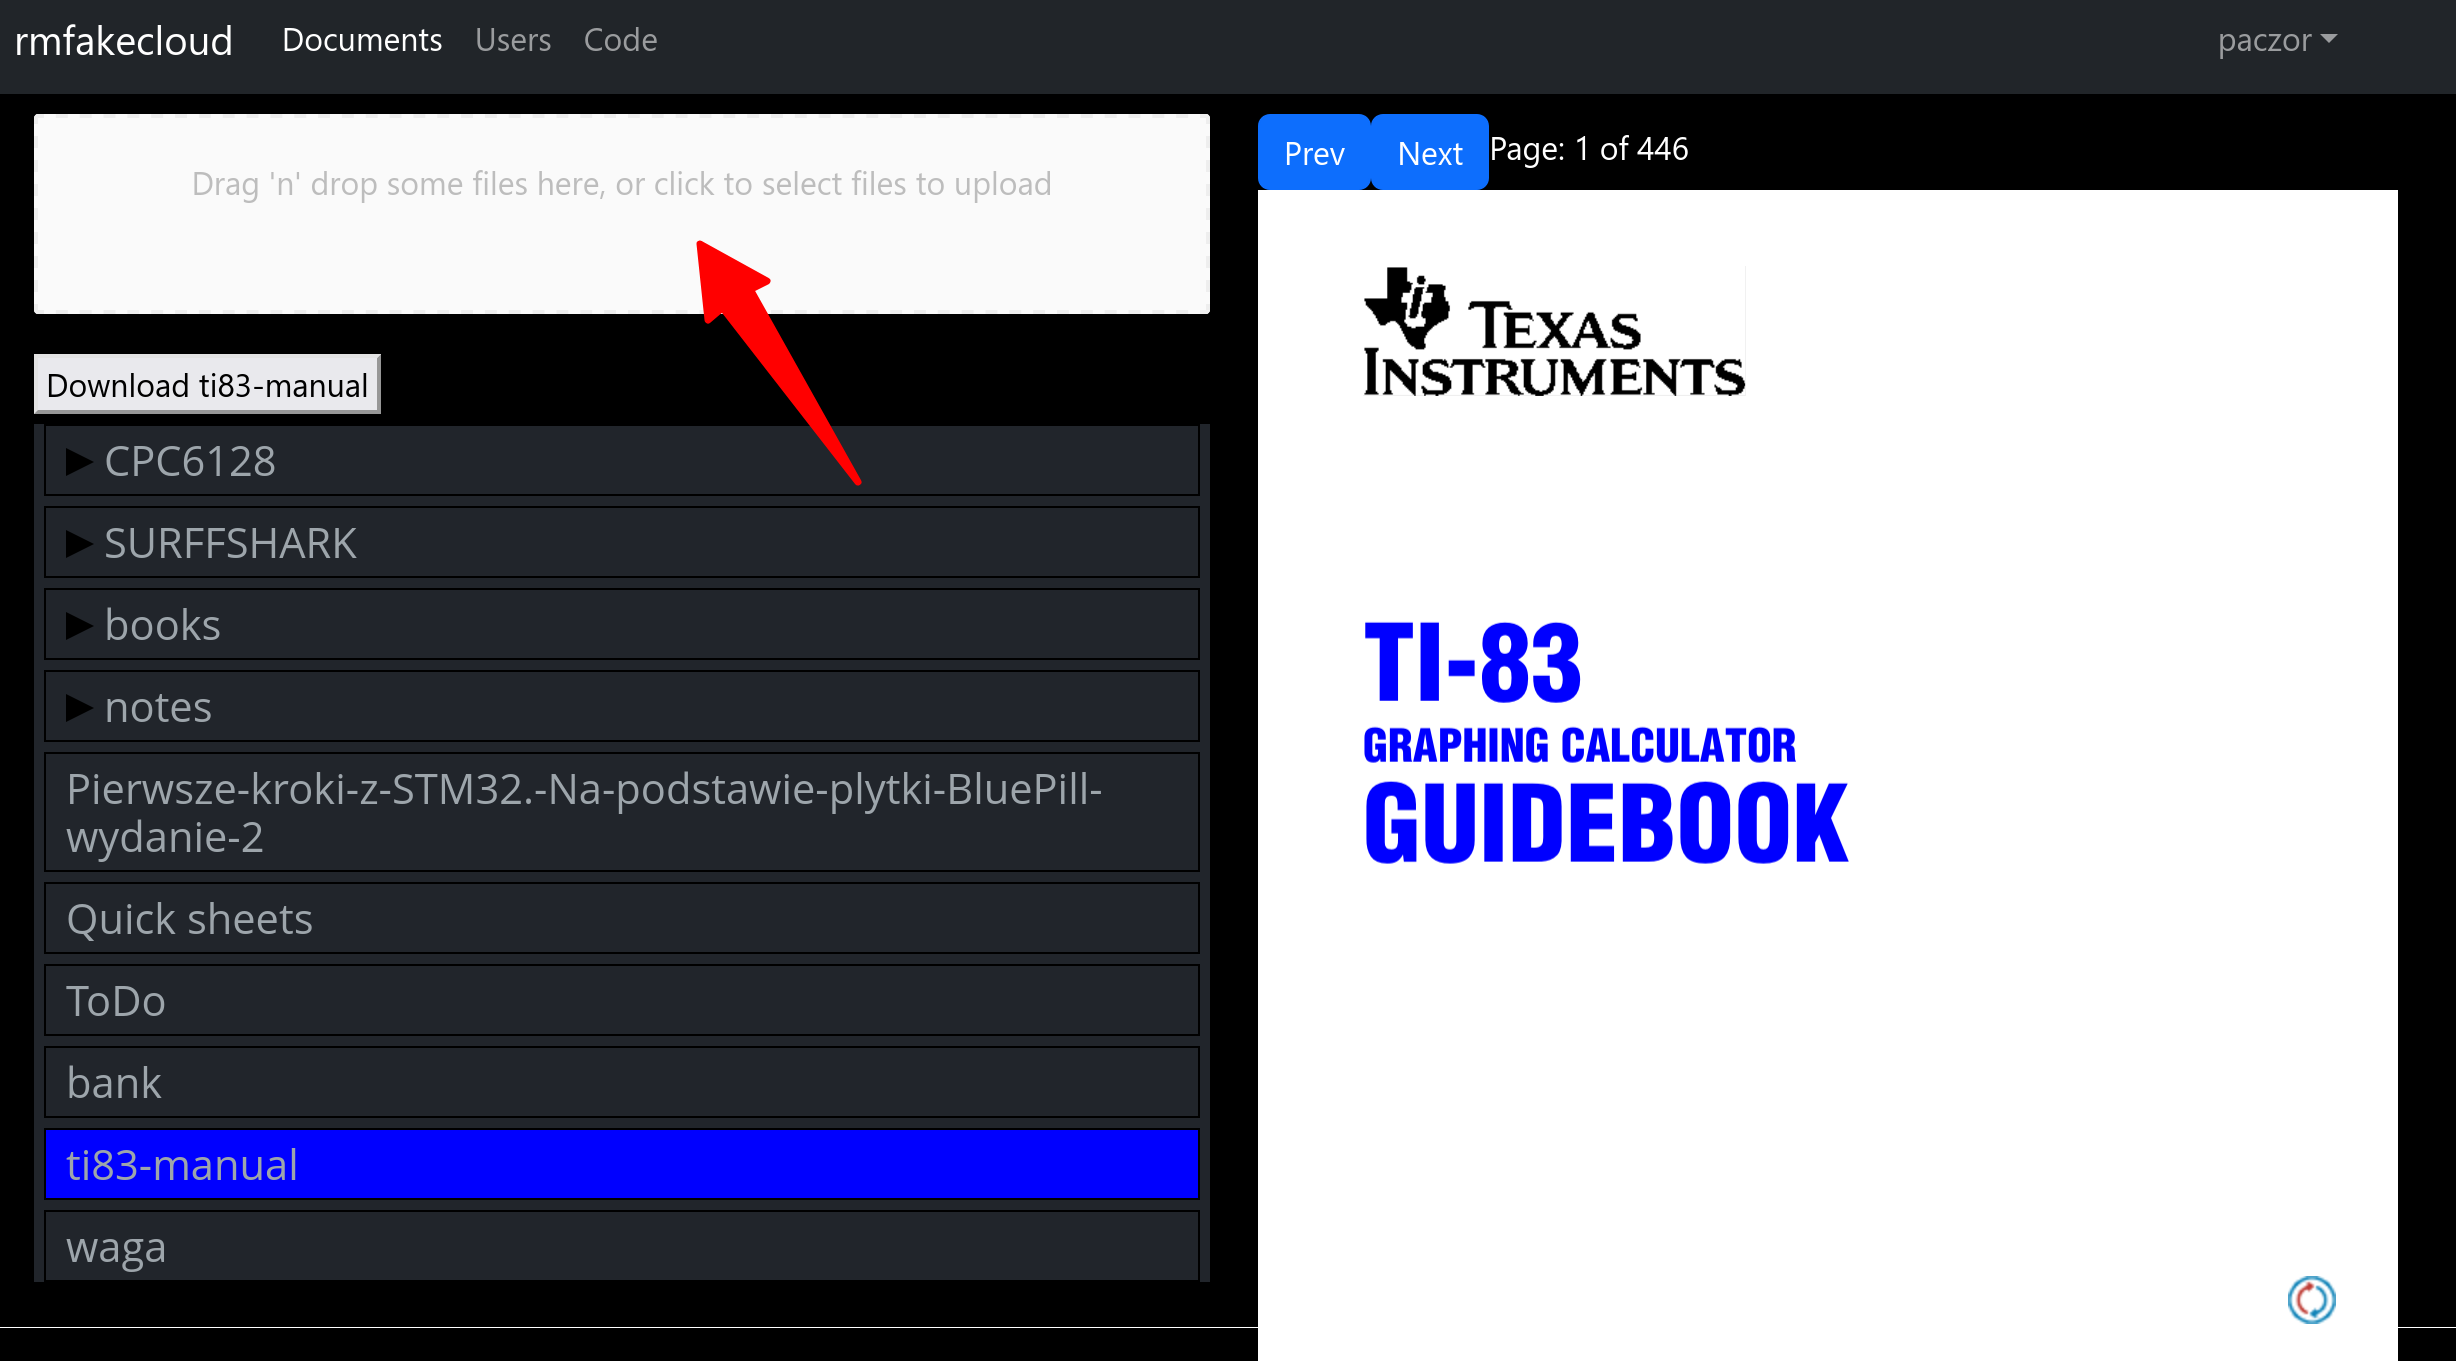
To transfer files to Rm2, open the site, log in, and under the "Documents" tab, you'll find an upload form for any files.

To be continued...